Room Boxes
Build a Room Box From Foam Board in a Weekend
A step-by-step weekend plan for a 1:12 room box made from foam board: measuring, cutting, gluing, a window opening and a floor, with every safety note.
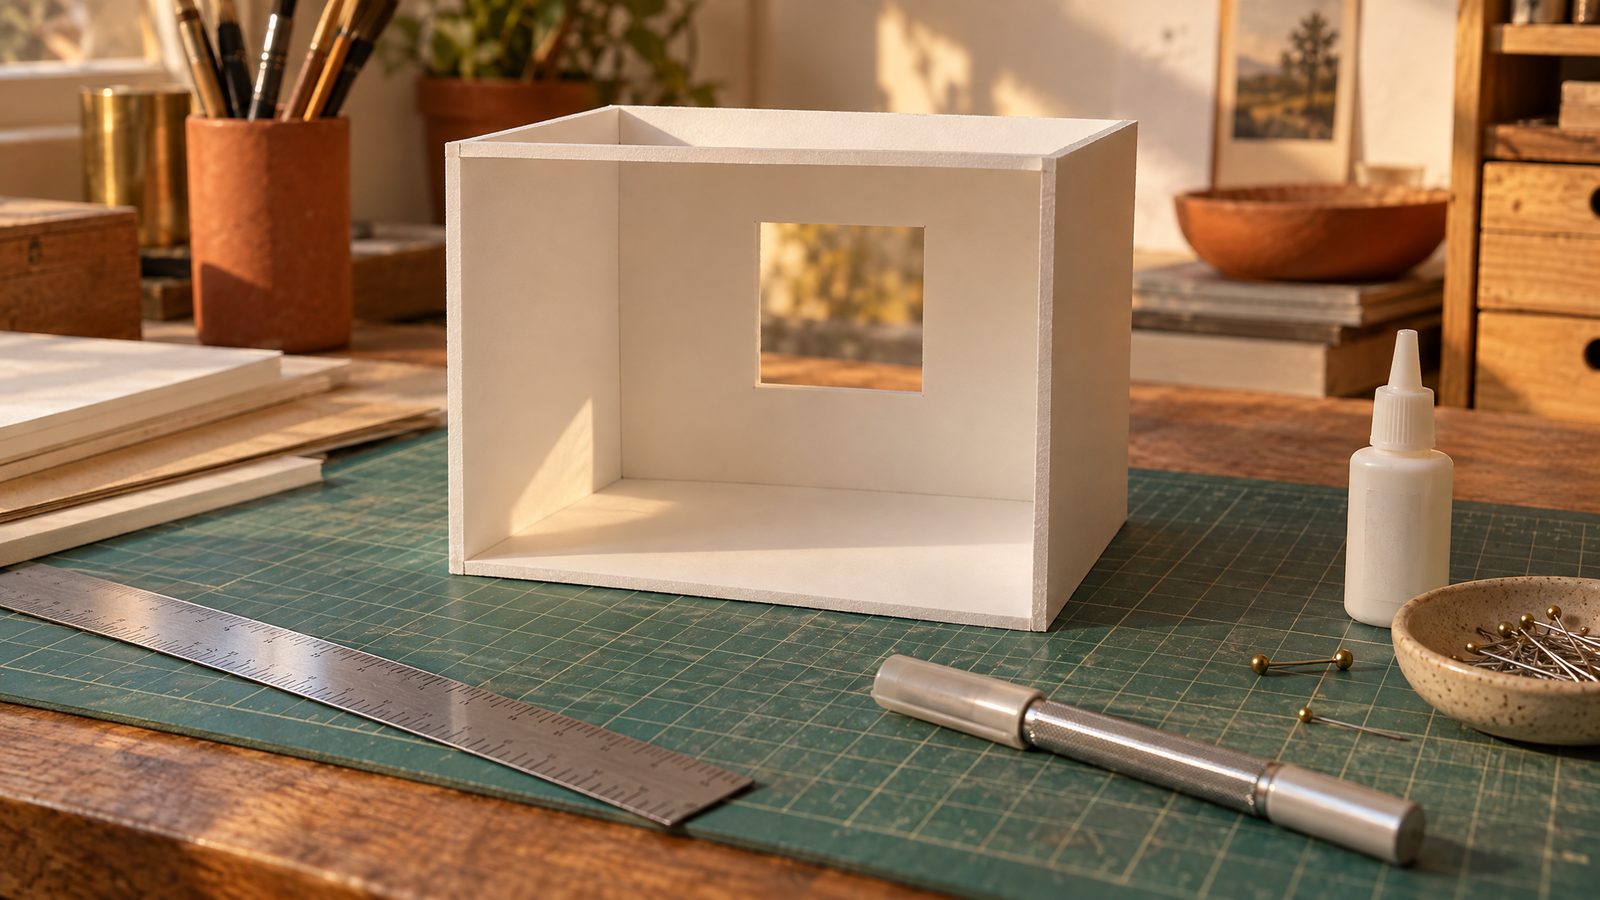
A room box is a tiny room with the front wall taken away, so you can look straight in. It is the simplest frame for a miniature interior, and foam board makes it a pleasant weekend job. It is light, cuts cleanly with a sharp blade and takes paint, paper and glue well.
This plan is for a 1:12 room. If you work at 1:24, halve every measurement.
What you need
- Foam board, 5 mm thick, about two A3 sheets
- A craft knife with fresh blades
- A steel ruler, ideally one with a raised finger guard
- A self-healing cutting mat
- A pencil and a set square
- PVA glue (white craft glue)
- Dressmaker pins
- Masking tape
- Optional: a low-temperature hot glue gun for quick tacking
Safety first
- Blades. Always cut away from your hand, with your fingers behind the ruler's edge. Change the blade as soon as it drags. A blunt blade needs more force, and that is when it slips.
- Several light passes. Do not try to cut through foam board in one go. Three or four gentle strokes give a cleaner edge and keep the knife under control.
- Hot glue burns. If you use it, choose a low-temperature gun. High-temperature glue can melt the foam core, and both kinds can burn skin. Keep a bowl of cold water close by.
- No solvent spray paint. The core of foam board is polystyrene foam. Solvent-based spray paint melts it. Use water-based acrylic paint only.
Day one: measure and cut
1. Decide the room size
A comfortable 1:12 room is 30 cm wide, 25 cm deep and 20 cm high. That comes from a real room of 360 by 300 cm with a 240 cm ceiling, each divided by 12.
2. Mark the pieces
You need four pieces: a floor, a back wall and two side walls. The walls sit on top of the floor, and the side walls sit inside the back wall. This means you have to allow for the 5 mm thickness of the board.
- Floor: 30 cm × 25 cm
- Back wall: 30 cm wide × 20 cm high
- Side walls (two): 24.5 cm wide × 20 cm high
The side walls are 24.5 cm, not 25 cm, because they butt against the back wall, which takes up 5 mm of the depth. Check your board: if it is 3 mm or 10 mm, adjust the side walls by that amount instead.
Draw every line with a set square, so your corners are true. A square box is much easier to fill than a slightly twisted one.
3. Cut a window
Choose where your window goes before anything is glued, while the wall is still flat. A real window around 100 cm wide and 120 cm tall becomes 8.3 cm × 10 cm at 1:12. Place the bottom of it about 7.5 cm from the floor, which is 90 cm in real life.
Cut the four sides of the window with the knife upright and several light passes. Do not overcut the corners. Finish each corner by pushing the blade straight down.
4. Cut the walls
Lay the steel ruler on the side of the line you are keeping, so if the blade wanders it wanders into the waste. Cut with light passes until the blade goes through the final paper layer.
Day two: glue and square
5. Glue the back wall to the floor
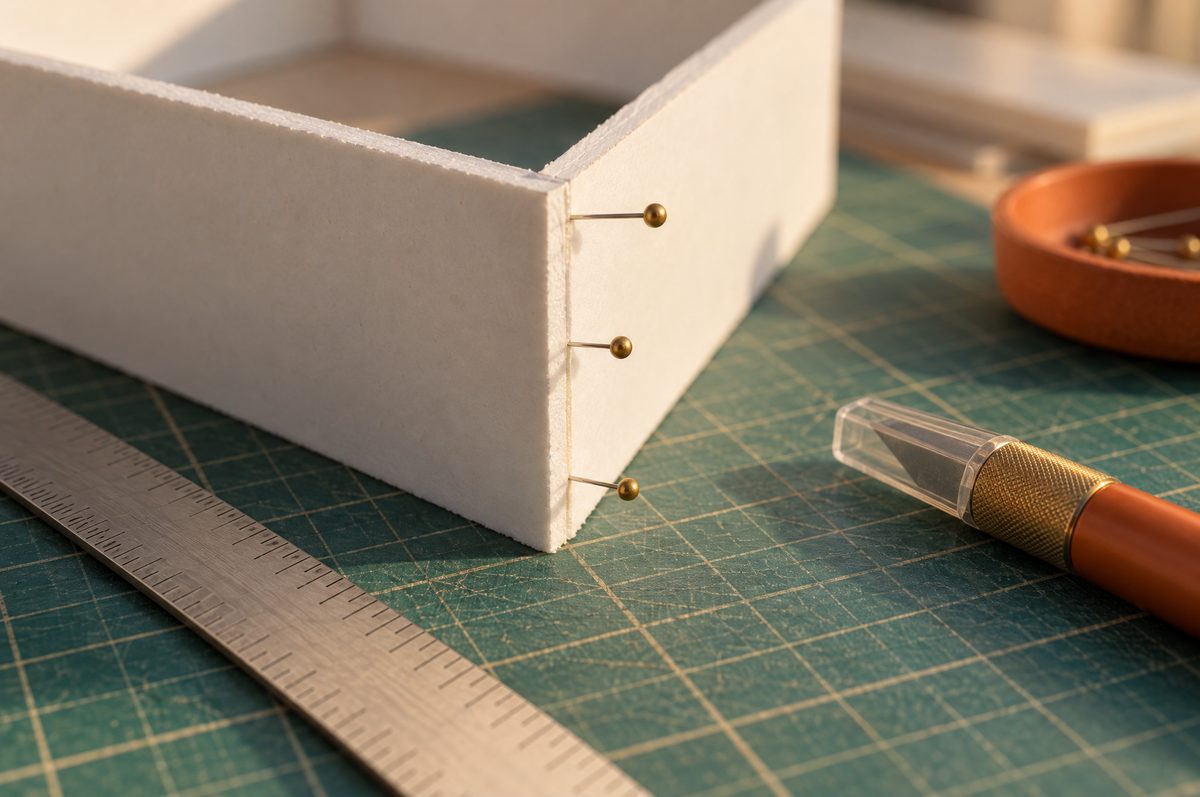
Run a thin line of PVA along the bottom edge of the back wall. Stand it on the floor, flush with the back edge. Push a few pins through the floor into the wall from underneath, to hold it while the glue grabs.
Use a set square or a book to check the wall stands straight up. Leave it for half an hour.
If you are short of patience, a few small dots of low-temperature hot glue on the outside of the joint will hold it in place while the PVA dries. Keep the hot glue away from the inside faces you will decorate.
6. Add the side walls
Glue each side wall to the floor and to the back wall. Pin it through the back wall and through the floor. Tape across the outside corners with masking tape if they want to lean.
Check again with your set square. Then leave the box to dry fully, ideally overnight. PVA is strong when it has cured, and weak while it is still wet.
7. Tidy the edges
Once dry, pull the pins. Rub any raw foam edges with a fingertip of PVA to seal them, or cover the front edges with a thin strip of paper or a card trim. That small frame makes the whole box look finished.
Stop it warping
Foam board can bow when one side gets wet and the other does not. When you paint or paper the inside walls, do the outside too, or brace the top of each wall with a strip of card glued across. A ceiling piece will also hold everything square, and you can add one later with a cut-out for light.
Try this today: the paper prototype
Before you touch foam board, make the same box from paper or thin card, at the same size. Fold it, tape it and put a cup or a toy inside. It costs nothing and shows you at once whether the room feels too big, too tall or just right.
What to add next
- A floor: coffee stirrer planks or a printed paper floor
- Wall finish: paint, a textured plaster effect or scaled wallpaper
- Light: a warm battery LED behind the window
- A style: pick one of the six rooms in our collection and build towards it
When your box is standing, the free Miniature Designs Starter Guide picks up from there, with lighting, styling and photography for a first room, plus printable 1:12 miniatures to fill it.
The best part
There is a lovely moment when the glue dries and you lift the box for the first time. It is empty, but it is already a room. Everything you add from here is just furnishing it.